
This manual serves as your comprehensive guide to understanding and operating Euro Pro sewing machines, covering essential features, safety tips, and maintenance advice for optimal performance․
1․1 Understanding the Importance of the Instruction Manual
The instruction manual is crucial for mastering your Euro Pro sewing machine․ It provides detailed guidance on safety, operation, and troubleshooting, ensuring optimal performance․ By following the manual, users can avoid common mistakes, extend machine lifespan, and unlock advanced features․ It serves as a reference for maintenance, threading, and stitch customization, making it indispensable for both beginners and experienced sewists․ Proper usage begins with understanding the manual․
1․2 Overview of Euro Pro Sewing Machine Models
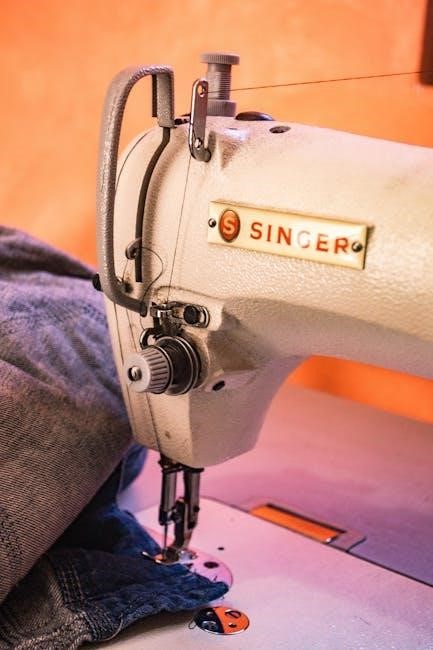
Euro Pro offers a range of sewing machine models, including the 9130C, 7500, 392, 420, and others, each designed for diverse sewing needs․ These models vary in features, from basic stitching to advanced functionalities like automatic threading and multiple stitch patterns․ Whether for home use or professional projects, Euro Pro machines cater to both beginners and experienced sewists, ensuring versatility and reliability across different fabric types and sewing tasks․
1․3 Key Features of Euro Pro Sewing Machines
Euro Pro sewing machines are renowned for their robust construction, user-friendly interfaces, and versatile stitching options․ They often include features like automatic threading, adjustable stitch length, and width, along with multiple built-in patterns․ Some models also offer advanced functionalities such as programmable stitches, LED lighting, and free-arm sewing capabilities, making them ideal for both basic and intricate sewing projects․
Safety Precautions and General Information
Always use genuine parts and follow safety guidelines to avoid accidents․ Keep loose clothing tied back and ensure children stay away while operating the machine for safe use․
2․1 Essential Safety Guidelines
Always prioritize safety when using your Euro Pro sewing machine․ Ensure proper ventilation, avoid loose clothing, and keep children away․ Use genuine parts to prevent malfunctions․ Never operate the machine near water or in humid environments․ Store the machine in a dry, cool place․ Avoid sewing flammable materials and keep the work area clean․ Regularly check for worn or damaged parts and replace them promptly․ Follow the manual’s guidelines to ensure safe and efficient operation․
2․2 Machine Components and Accessories
Your Euro Pro sewing machine comes with essential components like the sewing head, bobbin, and spool pins․ Accessories include various presser feet for zippers, buttons, and decorative stitching․ Additional items like extension tables and seam guides enhance functionality․ Ensure all parts are compatible with your model for optimal performance․ Refer to the manual for a detailed list of included and optional accessories to maximize your sewing experience․
2․3 Proper Storage and Maintenance Tips
Regularly clean your Euro Pro sewing machine with a soft brush to remove lint and debris․ Store it in a dry, cool place, ideally in a protective case or cover․ Lubricate moving parts as recommended to maintain smooth operation․ Always unplug the machine when not in use and follow the manual’s maintenance schedule for optimal performance and longevity of your sewing machine․
Setting Up Your Euro Pro Sewing Machine
Unpack and inspect your machine, ensuring all parts are included․ Follow assembly instructions carefully, referring to the manual for guidance․ Connect the power supply correctly to ensure safe and proper operation․
3․1 Unpacking and Initial Inspection
Begin by carefully unpacking your Euro Pro sewing machine, ensuring all components, such as the machine, accessories, and instruction manual, are included․ Inspect the machine for any visible damage or defects․ Plug in the power cord to test basic functionality․ Verify that all presser feet and needles are present and undamaged․ Check for any missing parts or accessories listed in the manual․ This step ensures your machine is ready for proper setup and use․
3․2 Assembly and Alignment
After unpacking, assemble your Euro Pro sewing machine by attaching the sewing table and aligning the machine components․ Ensure the needle bar and presser foot are properly aligned․ Follow the manual’s step-by-step guide to secure all parts tightly․ Double-check the alignment to prevent stitching issues․ Refer to the diagrams for accurate positioning․ Once assembled, test the machine to confirm smooth operation and proper alignment before starting your first project․
3․3 Power Supply and Plug Requirements
Ensure your Euro Pro sewing machine is connected to a stable power supply․ Use the provided plug and avoid adapters to prevent damage․ The machine typically requires a standard 120V AC power source․ Always check the power cord for damage before use․ For international use, verify voltage compatibility to avoid electrical issues․ Consult a professional if unsure about plug configurations or voltage requirements for safe operation․
Threading and Tensioning
This section provides a step-by-step guide to threading your Euro Pro sewing machine and adjusting thread tension for optimal stitching on various fabric types, ensuring professional results․
4․1 Step-by-Step Threading Guide
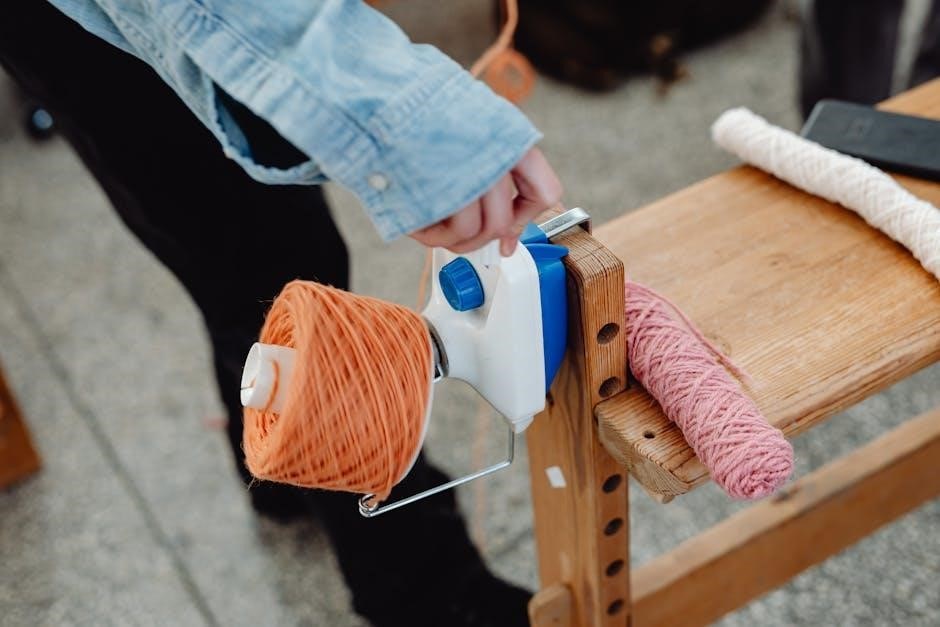
Begin by removing any loose or old thread․ Place the spool on the spool pin and pull the thread through the machine’s tension discs․ Gently guide the thread through the take-up lever, ensuring it’s seated properly․ Next, insert the thread into the needle’s eye․ Pull the thread to remove any slack and test the tension by gently tugging․ Proper threading ensures smooth operation and consistent stitch quality, minimizing the risk of thread breakage or uneven stitching․
4․2 Adjusting Thread Tension
Proper thread tension is crucial for consistent stitching․ Start by locating the tension dial, typically found on the front or top of the machine․ Turn the dial clockwise to tighten or counterclockwise to loosen the thread․ Test the tension by sewing a few stitches on a scrap fabric․ Adjust as needed to achieve balanced tension, ensuring even stitch formation without puckering or loose threads․ Proper tension prevents fabric distortion and enhances overall sewing quality․
4․3 Common Threading Mistakes to Avoid
One common mistake is not threading the machine correctly, leading to uneven stitches․ Ensure the thread follows the guide path precisely․ Another error is over-tightening the tension, which can cause thread breakage․ Additionally, neglecting to raise the presser foot before threading can result in tangled threads․ Always refer to the manual for specific threading diagrams tailored to your Euro Pro model to avoid these issues and ensure smooth operation․
Sewing Machine Parts and Accessories
This section details the essential components of your Euro Pro sewing machine, including the presser foot, bobbin, and needle, along with compatible accessories that enhance functionality․
5․1 Detailed Breakdown of Machine Parts
The Euro Pro sewing machine features a range of essential components, including the bobbin, spool pins, presser foot, tension dials, and stitch selector․ The machine’s sturdy construction includes a metal frame, ensuring durability․ Additional parts like the needle, thread take-up lever, and reverse stitch button are designed for precision and ease of use․ Accessories such as extra needles, presser feet, and bobbins are often included to enhance sewing versatility and accommodate various fabric types․
5․2 Understanding Presser Feet and Their Uses
Presser feet are essential accessories for Euro Pro sewing machines, designed to handle specific tasks․ The all-purpose foot is ideal for straight stitching, while the zipper foot allows precise sewing near zippers․ The blind hem foot is perfect for invisible hemming․ Other specialized feet include the buttonhole, walking, and quilting feet․ Each foot attaches securely to the machine’s presser foot holder, ensuring stability and control․ Proper selection and use of presser feet enhance sewing accuracy and versatility for various fabric types and projects․
5․3 Needle Types and Sizes
Your Euro Pro sewing machine uses standard sewing needles, available in various types and sizes․ Common types include universal, sharp, and heavy-duty needles․ Universal needles are versatile for general sewing, while sharp needles are ideal for delicate fabrics like silk․ Heavy-duty needles are designed for thick materials like denim․ Needle sizes range from 8 to 14, with higher numbers indicating finer needles․ Always choose the right needle type and size for your fabric to ensure smooth stitching and prevent damage to your machine or fabric․
Basic Sewing Operations
Master essential sewing skills with your Euro Pro machine, including starting your first stitch, sewing straight lines, and backstitching to secure seams for professional-looking results․
6․1 Starting Your First Stitch
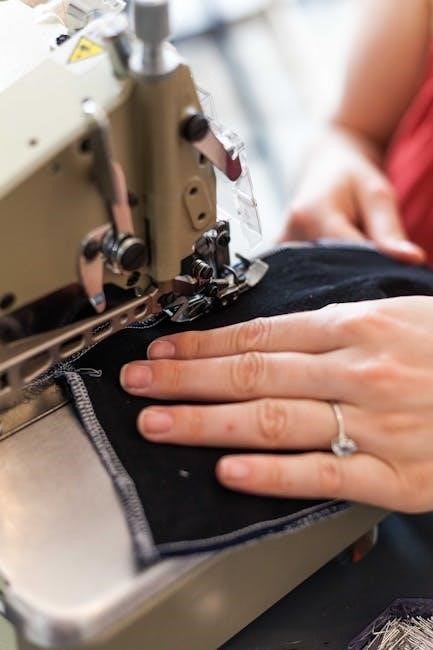
Begin by ensuring your Euro Pro sewing machine is properly threaded and the tension is balanced․ Place your fabric under the presser foot, aligning the edge with the machine’s guide․ Gently lower the presser foot and select a straight stitch․ Hold the fabric steady, press the start/stop button, and let the machine create your first stitch․ Always test on scrap fabric first to ensure settings are correct before sewing your actual project․
6․2 Sewing Straight Lines and Curves
To sew straight lines, align the fabric edge with the machine’s guide․ For curves, gently guide the fabric, adjusting its direction smoothly․ Use the walking foot for even feeding․ Maintain steady control and consistent speed․ Backstitch at the beginning and end for secure seams․ Practice on scrap fabric to master both techniques before working on your final project․
6․3 Backstitching and Securing Seams
Backstitching reinforces seams, ensuring durability․ Start by sewing a few reverse stitches at the beginning and end of your seam․ Use the reverse stitch button on your Euro Pro machine․ Keep the stitch length consistent for a professional finish․ Always secure seams with a backstitch to prevent fraying and strengthen the fabric․ This step is crucial for both straight lines and curved seams․ Proper backstitching ensures long-lasting results for your sewing projects․
Advanced Features and Techniques
Explore advanced stitching options, pattern customization, and specialized sewing techniques․ Utilize built-in stitches, adjustable tension, and precision controls for intricate designs and professional-grade results on your Euro Pro machine․
7․1 Using Built-in Stitches and Patterns
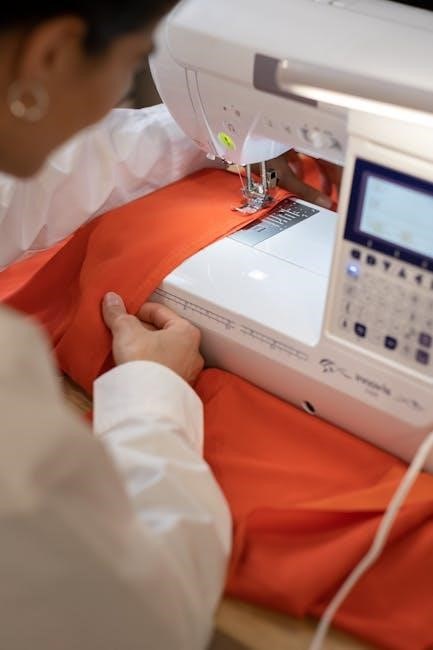
Discover how to access and utilize the wide variety of built-in stitches and patterns on your Euro Pro sewing machine․ From decorative to functional stitches, this section guides you through selecting and customizing patterns to suit your sewing projects․ Learn how to magnify and mirror designs, and explore the automatic sewing programs for effortless creativity․ Tips on navigating the stitch menu and optimizing pattern settings are also included for enhanced sewing precision and versatility․
7․2 Adjusting Stitch Length and Width
Adjusting stitch length and width on your Euro Pro sewing machine allows for precise control over your sewing projects․ Use the stitch length dial to set the distance between stitches, while the width dial adjusts the stitch’s horizontal span․ These settings ensure optimal results for various fabrics and techniques․ Experiment with different combinations to achieve the desired texture and durability in your sewing․ Always test stitches on scrap fabric before working on your final project․
7․3 Sewing Buttons and Other Attachments
Euro Pro sewing machines simplify sewing buttons and attachments with specialized presser feet․ Models like the Euro Pro 9130C and 7500 offer buttonhole and zipper feet for precise stitching․ For secure attachment, use a stabilizing material beneath fabric․ Built-in stitches, such as the buttonhole stitch, ensure professional results․ Always align buttons correctly and use the appropriate foot for each task to achieve durability and a polished finish in your projects․
Troubleshooting Common Issues
Identify and resolve issues like machine malfunction, thread breakage, or jamming by checking power supply, thread tension, and ensuring proper needle alignment for smooth operation․
8․1 Machine Not Turning On
If your Euro Pro sewing machine fails to turn on, first check the power supply․ Ensure the machine is properly plugged into a functioning outlet and that the power cord is undamaged․ Verify that the correct voltage matches your machine’s requirements․ If issues persist, inspect the fuse or circuit breaker․ Consult the manual for specific troubleshooting steps or contact customer support for further assistance to resolve the issue efficiently․
8․2 Thread Breakage and Tension Problems
Thread breakage and tension issues can disrupt your sewing process․ Ensure proper threading by following the manual’s step-by-step guide․ Check for incorrect tension settings, as this can cause uneven stitches or thread snapping․ Use high-quality thread suitable for your fabric type․ If problems persist, clean the machine’s thread path and rethread․ Adjust the tension dial according to the manual’s recommendations to achieve balanced stitches and prevent further breakage․
8․3 Jamming and Incorrect Stitch Formation
Jamming and incorrect stitch formation can occur due to improper threading, misaligned fabric, or using the wrong needle type․ Regularly clean the machine to remove lint and debris․ Check thread tension and ensure fabric moves smoothly․ If stitches are uneven, adjust the stitch length or width․ Use the correct presser foot for your fabric type․ Refer to the manual for troubleshooting specific stitch issues and ensure proper needle alignment to prevent jams and achieve consistent results․
Maintenance and Repair
Regular cleaning and oiling ensure smooth operation․ Address jams promptly and lubricate moving parts․ For complex issues, consult a professional technician to maintain machine performance and longevity․
9․1 Cleaning the Machine
Regular cleaning is essential for maintaining your Euro Pro sewing machine’s performance․ Turn off and unplug the machine before cleaning․ Use a soft brush or cloth to remove dust, lint, and debris from the exterior and internal components․ Pay attention to the bobbin area, feed dogs, and stitch plate․ Avoid harsh chemicals; instead, use a slightly damp cloth for stubborn stains․ Clean after each use to prevent lint buildup and ensure smooth operation․ For deep cleaning, refer to the manual’s specific guidelines․
9․2 Oiling and Lubrication
Regular oiling is crucial to keep your Euro Pro sewing machine running smoothly․ Use high-quality sewing machine oil, applying a few drops to the bobbin hook and moving parts․ Avoid over-lubrication to prevent oil from seeping into the fabric․ Always turn off and unplug the machine before oiling․ Refer to the manual for specific lubrication points and frequency recommendations․ Proper lubrication ensures reduced friction, prolongs machine life, and maintains consistent stitch quality․ Clean excess oil with a soft cloth to avoid residue buildup․
9․3 Professional Servicing Recommendations
For optimal performance, professional servicing is recommended every 12-18 months or as specified in your manual․ A certified technician will inspect and clean internal mechanisms, replace worn parts, and ensure proper alignment and tension settings․
Regular professional servicing prevents mechanical issues, enhances stitching quality, and extends the machine’s lifespan․ Always use Euro Pro-authorized service centers to maintain warranty validity and ensure authentic replacement parts are used․
Model-Specific Instructions
This section provides detailed guidance tailored to specific Euro Pro models, including the 9130C, 7500, 392, and 420, ensuring optimal performance for each machine’s unique features․
10․1 Euro Pro 9130C Sewing Machine
The Euro Pro 9130C sewing machine offers advanced features like built-in stitches, pattern magnification, and mirroring․ Its instruction manual covers threading, thread tension, and presser feet․ Designed for versatility, it supports multiple sewing programs and auto-functions․ Troubleshooting tips and maintenance guides are included to ensure longevity․ This model-specific guide helps users maximize the machine’s capabilities, whether for casual projects or professional-grade sewing, ensuring optimal performance and ease of use for both beginners and experienced sewists alike․
10․2 Euro Pro 7500 Sewing Machine
The Euro Pro 7500 sewing machine is a versatile model designed for both casual and professional sewing․ Its instruction manual provides detailed guidance on operation, including threading, tension adjustment, and presser foot usage․ With built-in stitches and customizable settings, this machine offers flexibility for various projects․ The manual also covers maintenance tips and troubleshooting, ensuring users can resolve common issues and maintain optimal performance․ This comprehensive guide helps users master the Euro Pro 7500’s advanced features and capabilities․
10․3 Euro Pro 392 Sewing Machine
The Euro Pro 392 sewing machine instruction manual is a detailed guide tailored for this model, offering insights into its unique features and operation․ It covers essential functions like threading, tension adjustment, and presser foot usage, ensuring users can maximize the machine’s potential․ The manual also provides troubleshooting tips and maintenance advice specific to the Euro Pro 392, making it an indispensable resource for both beginners and experienced sewists․ This comprehensive guide helps users understand and utilize the Euro Pro 392 effectively․
10․4 Euro Pro 420 Sewing Machine
The Euro Pro 420 sewing machine instruction manual is a comprehensive guide designed to help users master this model’s capabilities․ It covers setup, advanced features, and troubleshooting, ensuring optimal performance․ The manual is available as a free PDF download, making it easily accessible for users to explore its 45 pages of detailed instructions and maintenance tips, proving invaluable for both novice and experienced sewists alike․
Downloading and Accessing the Manual
Accessing the Euro Pro sewing machine manual is straightforward via official sources and trusted websites, offering free downloads for easy reference and navigation․
11․1 Official Sources for Manuals
Official Euro Pro sewing machine manuals are available on trusted websites like ManualsLib and ManualsOnline․ Visit Euro Pro’s official website or authorized retailers for verified downloads․ Ensure to search using the exact model number, such as Euro Pro 9130C or 7500, to find the correct manual․ Avoid unofficial sources to prevent downloading incorrect or malicious files․ Always verify the manual’s authenticity to ensure compatibility with your specific machine model and features․
11․2 Tips for Navigating the Manual
Use the table of contents or index to quickly locate specific sections․ Digital manuals often include search functions for easy navigation․ Pay attention to model-specific instructions and diagrams․ Organize the manual by bookmarking frequently used pages․ For physical copies, consider tabbing key sections․ Highlight important tips or warnings for quick reference․ Always cross-check instructions with your machine’s model number to ensure accuracy․ This will help you maximize the manual’s usefulness and enhance your sewing experience․
11․3 Printing and Saving the Manual
Print the manual on high-quality paper for clarity and durability․ Consider organizing it in a binder with section dividers․ For digital storage, save the PDF to your device or cloud storage․ Ensure the file is named clearly for easy access․ Regularly update your saved copy to reflect any revisions․ Consider printing only essential sections to conserve resources․ Use highlighters or notes to mark important pages for quick reference later․ This ensures you always have access to critical information when needed․